All photography provided by @COLED_ ALASKA


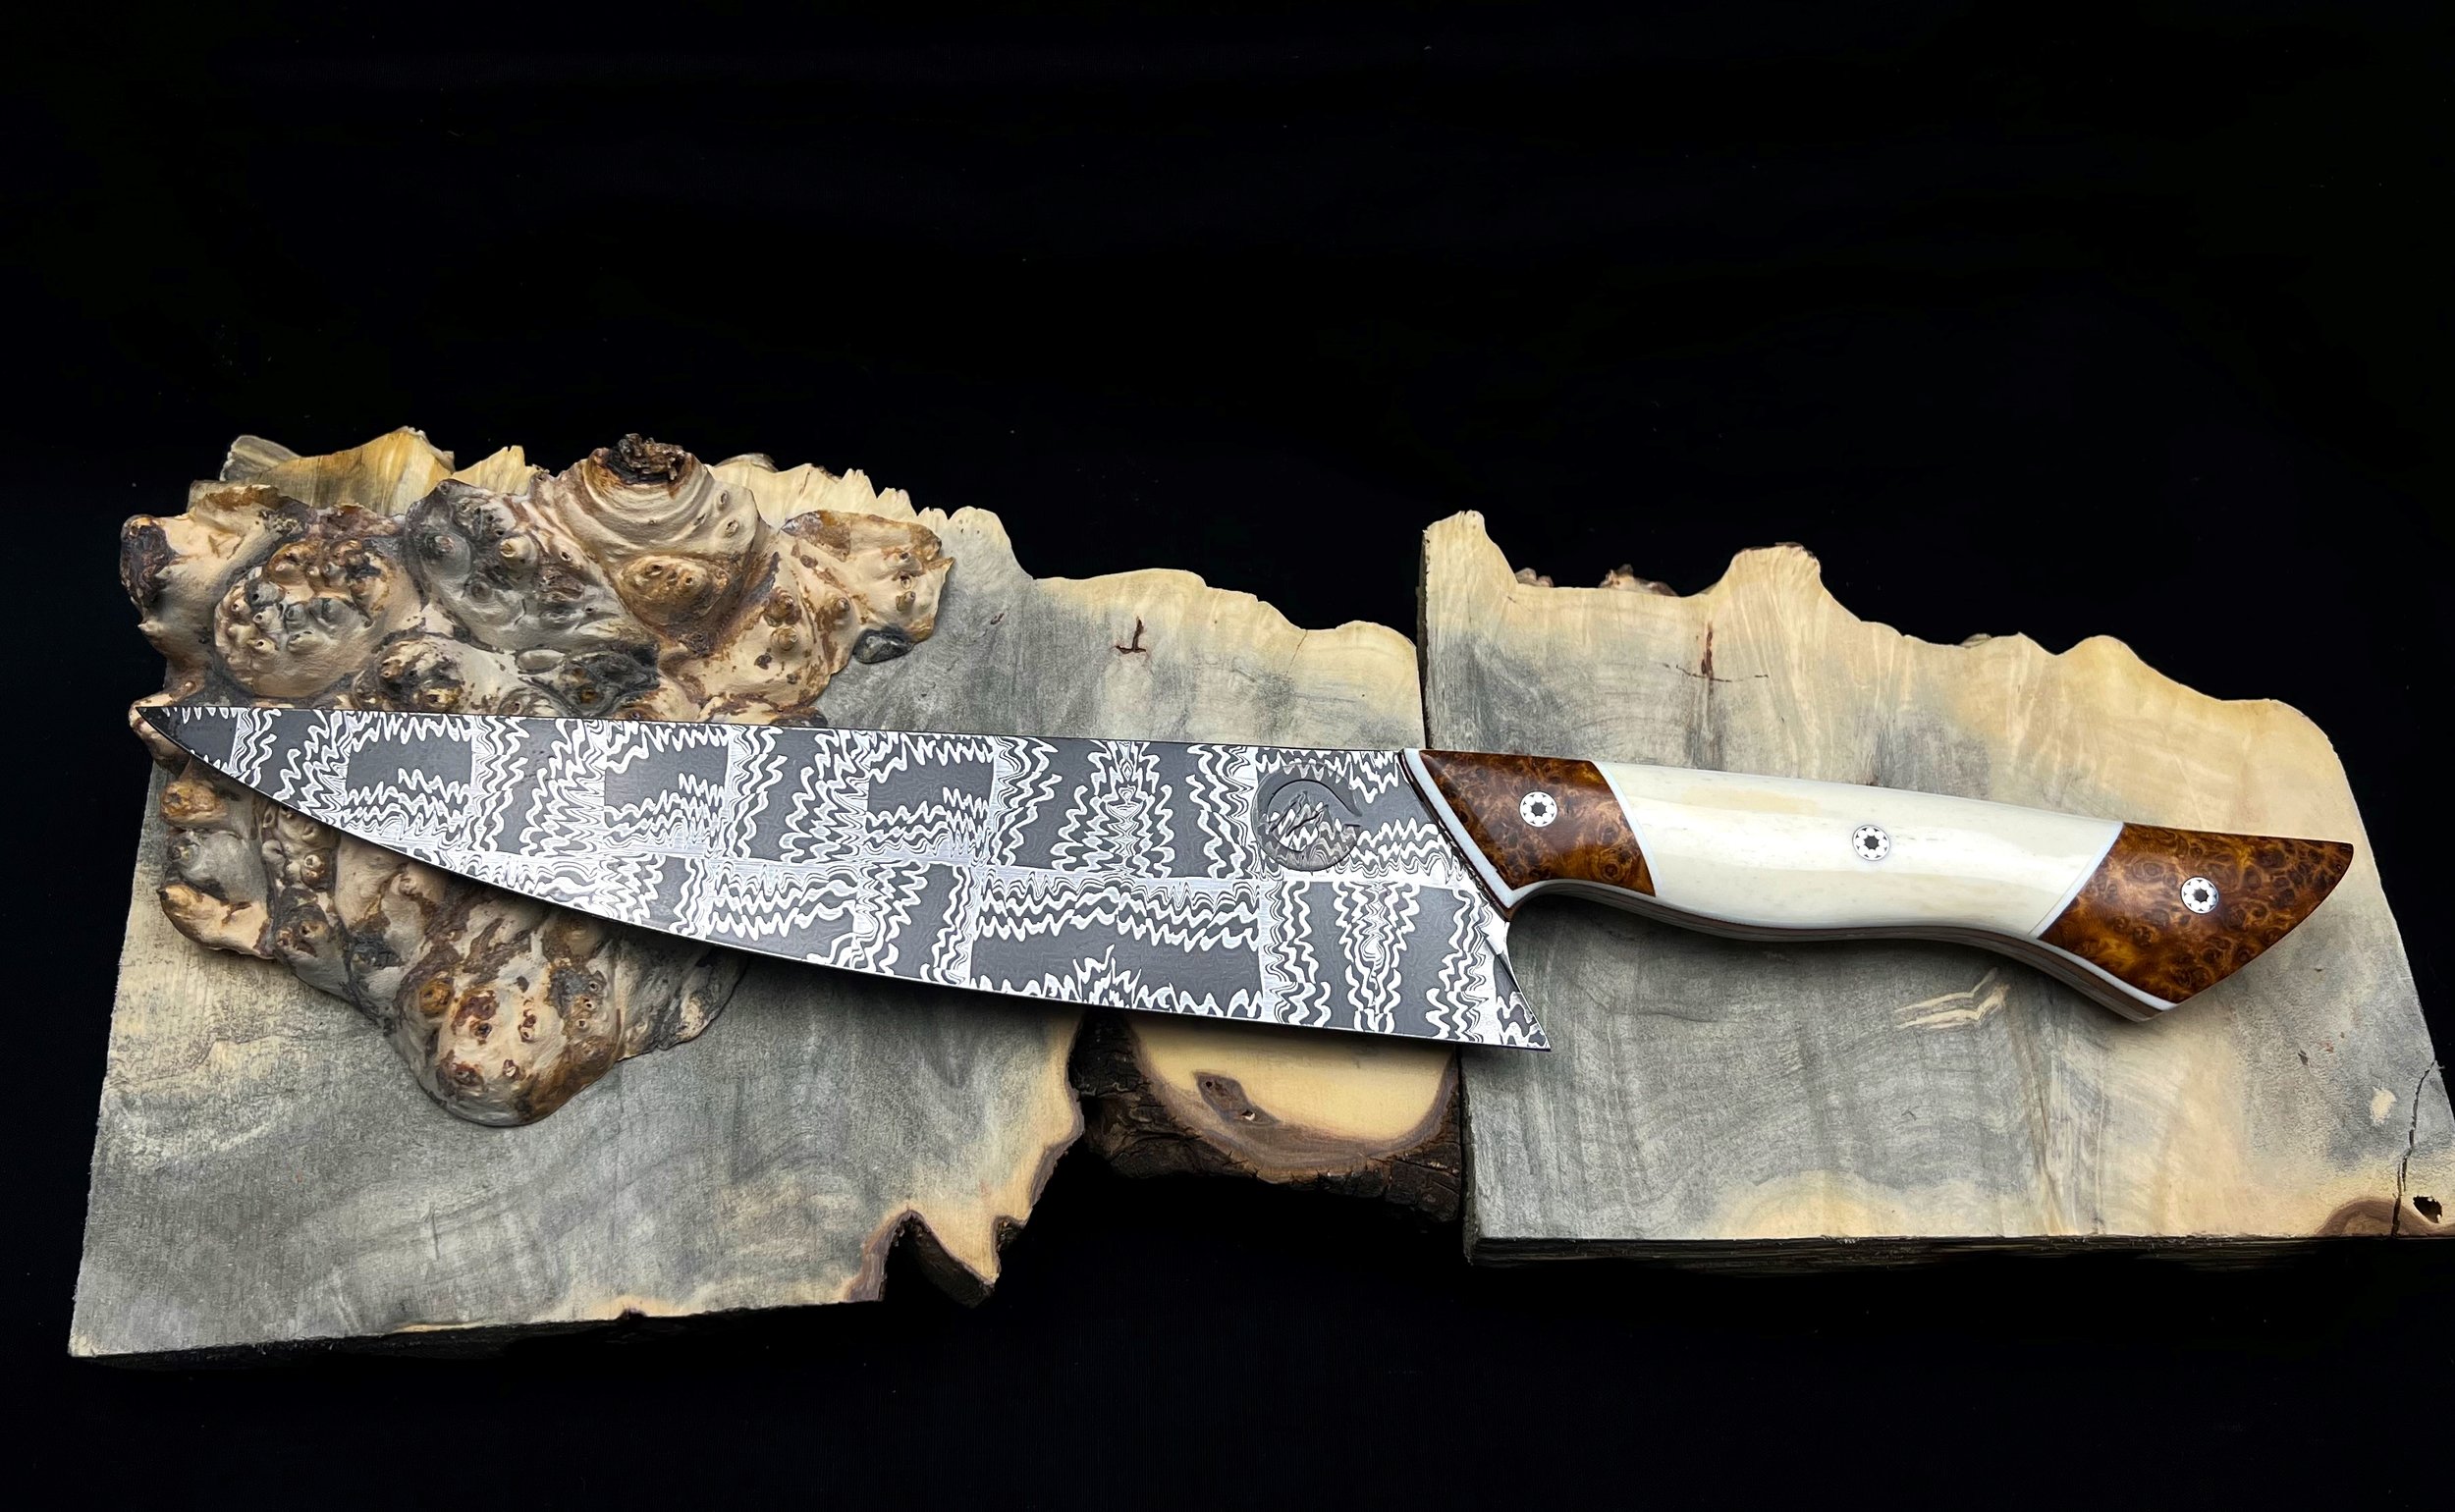
Student-made Santoku- 15N20 clad 80CRV2 core
The blade above is only the third blade my buddy has made. He has been learning the art of making knives. His previous two were a hunter/fighter design. At such an early stage, he is grasping the concept well. If you haven’t figured it out yet, he is also my photographer. Extremely professional! He did a great job with this one. Below, is a little information on the Santoku style.
Born in Japan in the 1940’s, The knifes name means “Three Virtues”. Known for its diversity in the kitchen, the wielder will find the knife ready for cutting, slicing, and chopping.
Flat-edged and with a sheep’s foot blade, the santoku is typically 5 to 8 inches long.
The sharpened edge is traditionally done with the western bilateral edge with a 12 to 15 degree shoulder.
Due to the thinness of the cutting edge, a softer steel could roll its edge - this is why it is important to forge santoku knives with strong and hard steel. High Carbon steel and the santoku style knife are a beautiful and extremely sharp combination.
Check to see what kitchen knifes are available at the online store!

Here at the shop, the forge weld is achieved using the propane forge for heat, and then transferring over to the Coal Iron Works press for the force. One of the challenges of forge welding is keeping oxygen out of the process. Oxygen will cause the surface of the steel to ‘scale’. Scale is basically steel that has been ruined through oxidation. It appears on the surface of the steel as black and flaky. If this scale gets into the billet it can create internal cracks and holes rendering the billet useless.
Techniques within techniques! Over the years of forge welding people have come up with great ideas to mitigate steel oxidation. Most popular of these techniques are using Flux (Borax) and sealing the billet in an airtight metal jacket. Recently I have started using Kerosene to soak the billet prior to forging. This easy a super clean method that works well and does not eat the forge floor.
Another popular and effective technique is incasing the billet in metal and sealing out the oxygen all together from the get-go. There is a lot of prep work and post welding work with this method - but the results are often kinder making this technique a must for complex mosaic builds. After the billet is designed, there are a number of ways to accomplish the task of sealing in the billet. Cut your sacrificial metal jacket (like sheet metal) and weld the jacket to the billet making sure there are no air gaps. After the forge weld, the jacket must be removed and the welds cut off.